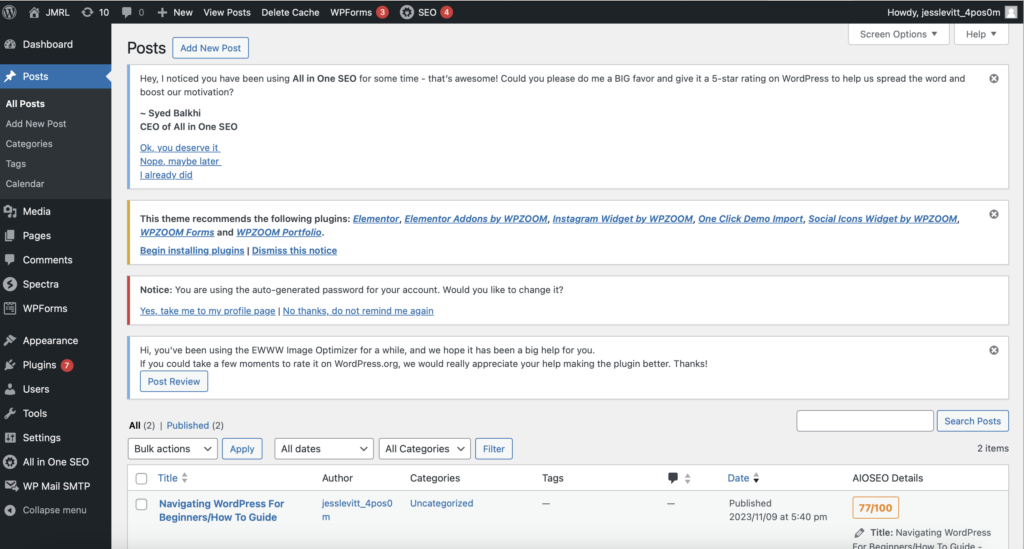
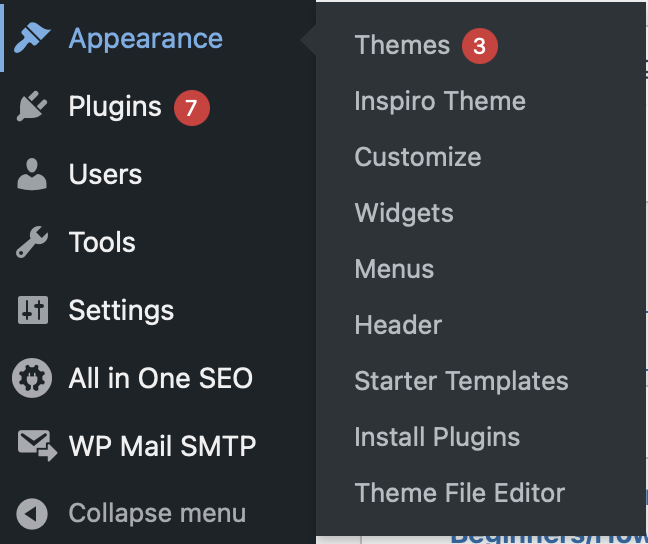
How to Add a WordPress Theme
- Go to dashboard, click appearance –> theme
- Browse the available themes or you can upload your own as well
- Select the one that you feel best suits your website

- Lastly, Click on Install and Publish

Using HTML Tags
When developing a website its essential to build its foundation in ways that provides viewers with the easiest system while navigating. HTML tags better organize and separate the content based on the layout of your website.
3 Basic HTML Tags
Image Tag: Adding an image to your website, using img
<img src="https://unsplash.com/photos/low-angle-photo-of-cherry-blossoms-tree-sKJ7zSylUao" alt="Pretty Flowers" width="1080" height="1080">Strong Tag: Bolding your Text, using “strong”
<strong>Different Flowers!</strong>Table Tag: Build a Table, using “table”
<table>
  <tr>
    <th>Names of Flowers</th>
    <th>Colour</th>
  </tr>
  <tr>
    <td>Rose</td>
    <td>Red</td>
  </tr>
<tr>
    <td>Daisy</td>
    <td>White</td>
  </tr>
</table>
Using Custom CSS
Cascading Style Sheet (CSS) provides your website with an artistic appeal to attract viewers. Developing your website within this digital era and bringing easier customization options for branding. This customization includes colour, sizing, font, and different layouts specific for your website.
- Go to appearance, customize
- Select “Additional CSS”
- Click on the empty text box, and add your CSS Code
<h3 style="color:pink;">Flowers</h3>

<h1 style="border:2px solid pink;">Prettier Flowers</h1>


.button {
  background-color: #FFC0CB;
  color: white;
  padding: 15px 32px;
  text-align: center;
  font-size: 16px;
}
Ordered List: You can use this tag to create a numbered list using the <ol> along with the list tag (<li>).
<ol>
  <li>Roses</li>
  <li>Tulips</li>
  <li>Sunflowers</li>
  <li> Orchids</li>
</ol>
Emphasis Tag: This helps to create emphasis on a particular word and/or phrase (<em>).
<p> <em>Fall leaves</em> are beautiful </p>
<h3> My favourite colour is <em>pink</em></h3>
Heading Tags: Provides structure to the website. Organizes and separates content of the website.
<h1> Dogs are the best pets ever! </h1>
<h2> My dog's name is Max </h2>
How to Install Google Analytics
- Sign up for Google Analytics and Create an Account
- After successfully creating an account, click on the “View Tag Instructions” button
- Use either block of code or plugins like Google’s Site Kit to automatically install it.
- Now you can easily monitor and analyze your page views, comments, and likes.
<!-- Google tag (gtag.js) -->
<script async src="https://www.googletagmanager.com/gtag/js?id=G-QDJVG35CEE"></script>
<script>
  window.dataLayer = window.dataLayer || [];
  function gtag(){dataLayer.push(arguments);}
  gtag('js', new Date());

  gtag('config', 'G-QDJVG35CEE');
</script>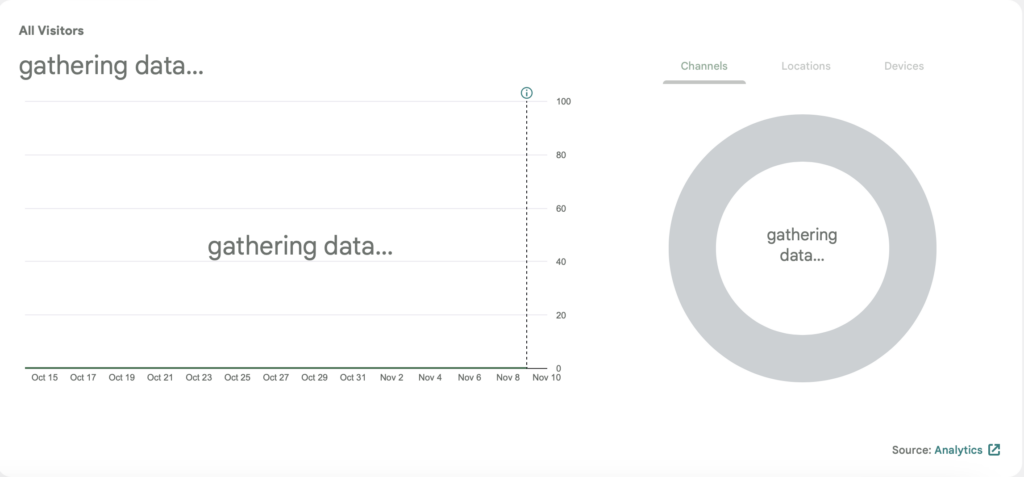
You are all set to create your own WordPress Site! Keep in mind there is always more to learn, and this is just the beginning steps!